| Engraving Basics | ||||||||||||||||||||
| home Link to other tutorials copyright 2010 Jim Kelso | ||||||||||||||||||||
| Recent works To Archives & Jewelry | ||||||||||||||||||||
|
||||||||||||||||||||
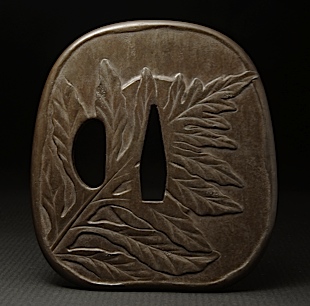
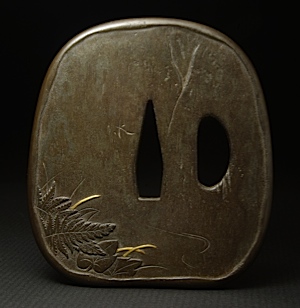
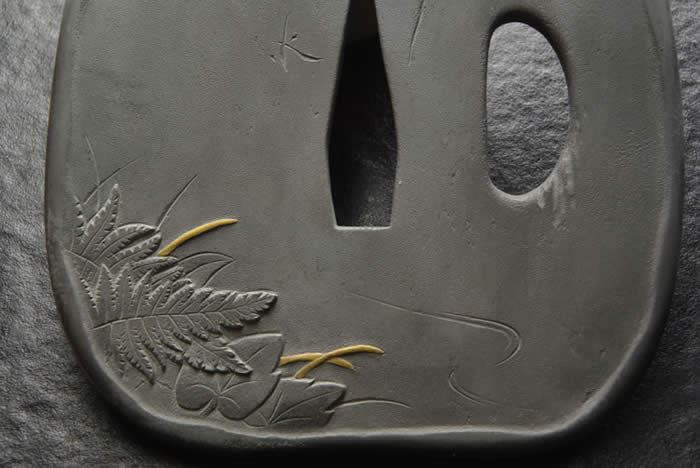
collection of Kiyomizu Sannenzaka Museum |
||||||||||||||||||||
This is a brief discussion on my general graver geometry and sharpening methods, which are somewhat outside what seems to be standard or "traditional" practice. Any student of engraving will quickly find that they absolutely must become familiar with point geometry and be able to fashion their own gravers to suit their needs. It may appear, when looking at the plethora of information available on the web, that one needs a vast array of gravers or chisels to get anywhere, or that one needs expensive, precision, power driven hones and jigs to produce a functional graver or chisel. Neither of these is true. The most important and necessary component to have is, as mentioned above, a working knowledge of tool geometry to produce the tools that you personally require. Form, indeed, follows function. I cut my engraving teeth by learning to engrave firearms using James Meek's seminal book, The Art Of Engraving. This book has an excellent introduction to graver geometry. Initially I followed Meek's suggestion of using the Crocker graver sharpener along with his stone holding fixture that keeps your bench stones in a fixed relationship to the Crocker. These days, compared to the current crop of sharpening equipage, the Crocker looks positively Flintstonian, but it works well and is cheap. I would recommend the Crocker as a way for a beginner to get a working knowledge of point geometry and be able to reproduce consistent points.They can then move on in whichever way suits them. After some years of using the Crocker I visited Leonard Francolini, Colt engraver extraordinaire, who shared with me his style of point geometry which I found instantly appealing. I've described this shape below with photos of how to go about getting it. I use this shape, with variations, for about 80% of my engraving/chisel work, using it in palm-push tools, with a hammer and with the Airgraver, as needs be. I found that I could form this type of tool by eye without the use of any jig, but I came to that by way of having the grounding in tool geometry from using the Crocker. Some may be able to bypass the Crocker altogether. Of course, as time goes on, you add a variety of specialty chisels and gravers depending on your needs, but so much can be done with the simplest of tools. Also, I don't want to imply that I have anything against the use of power hones, jigs etc.,but I would not want anyone to be discouraged from trying engraving because they thought it was necessary to have them and perhaps could not afford them.
|
||||||||||||||||||||
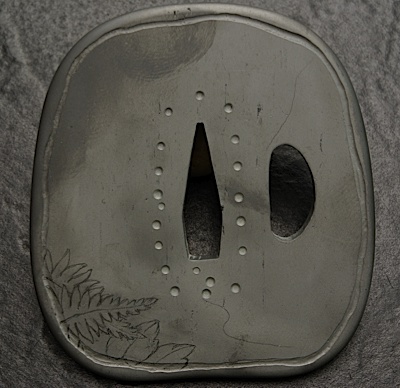
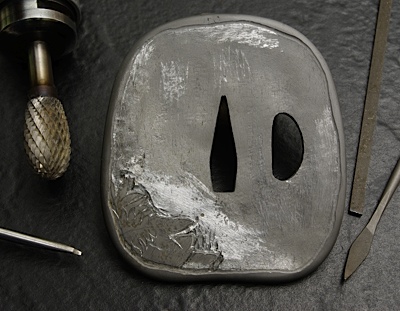
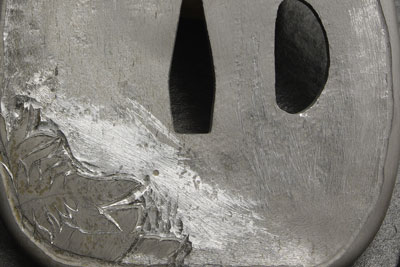
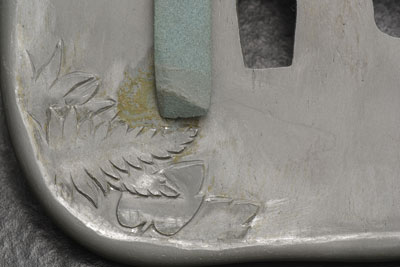
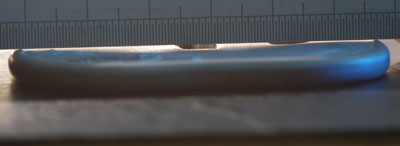
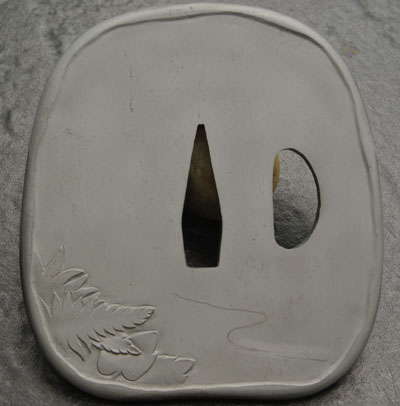
Final finish before patina. 61 mm wide
|
||||||||||||||||||||